Pro OEM/ODM manufacturer Professional treatment tables for 21 years
Pro OEM/ODM manufacturer Professional treatment tables for 21 years

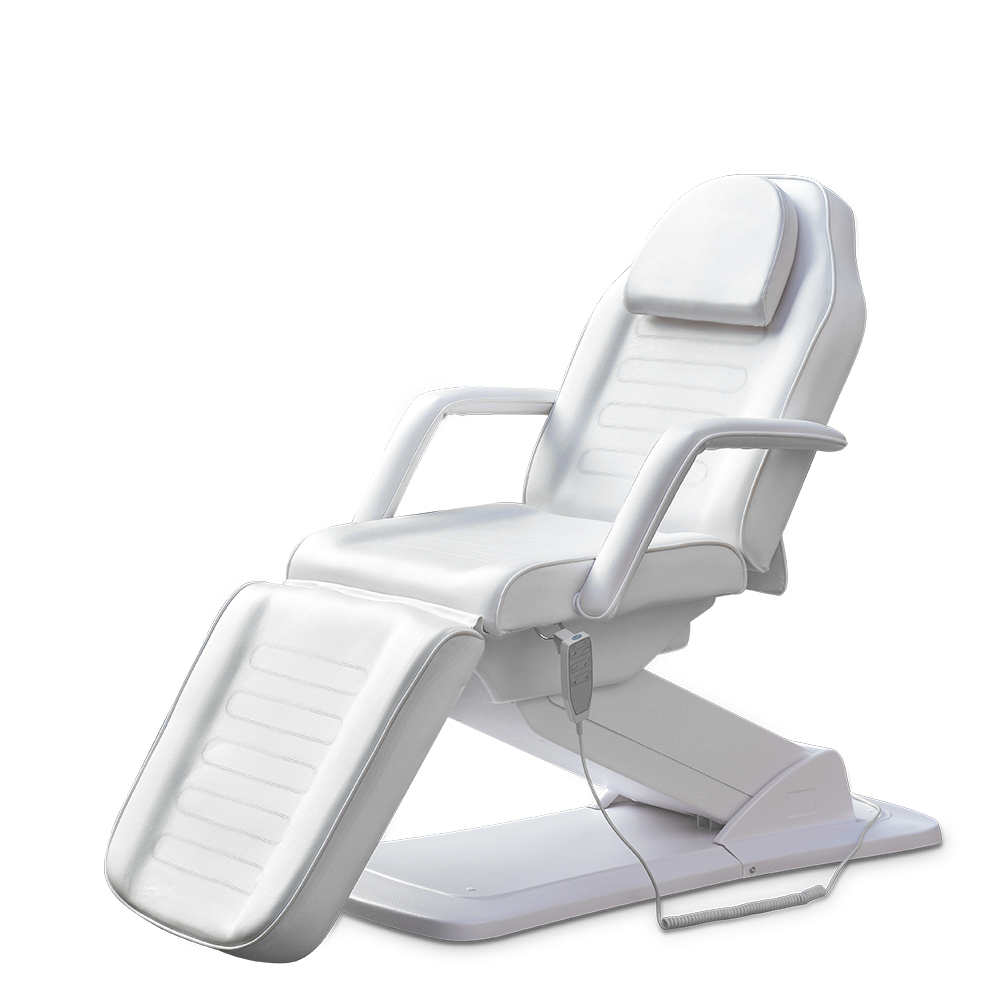
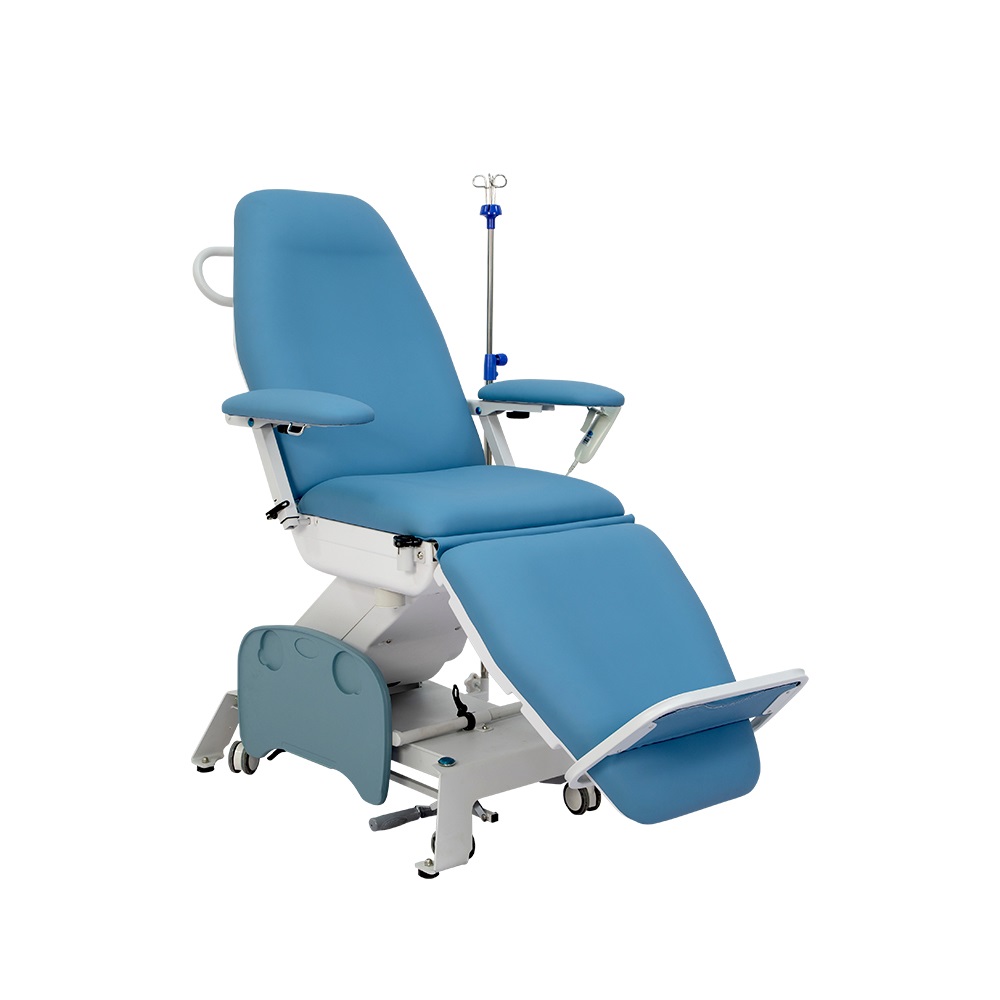
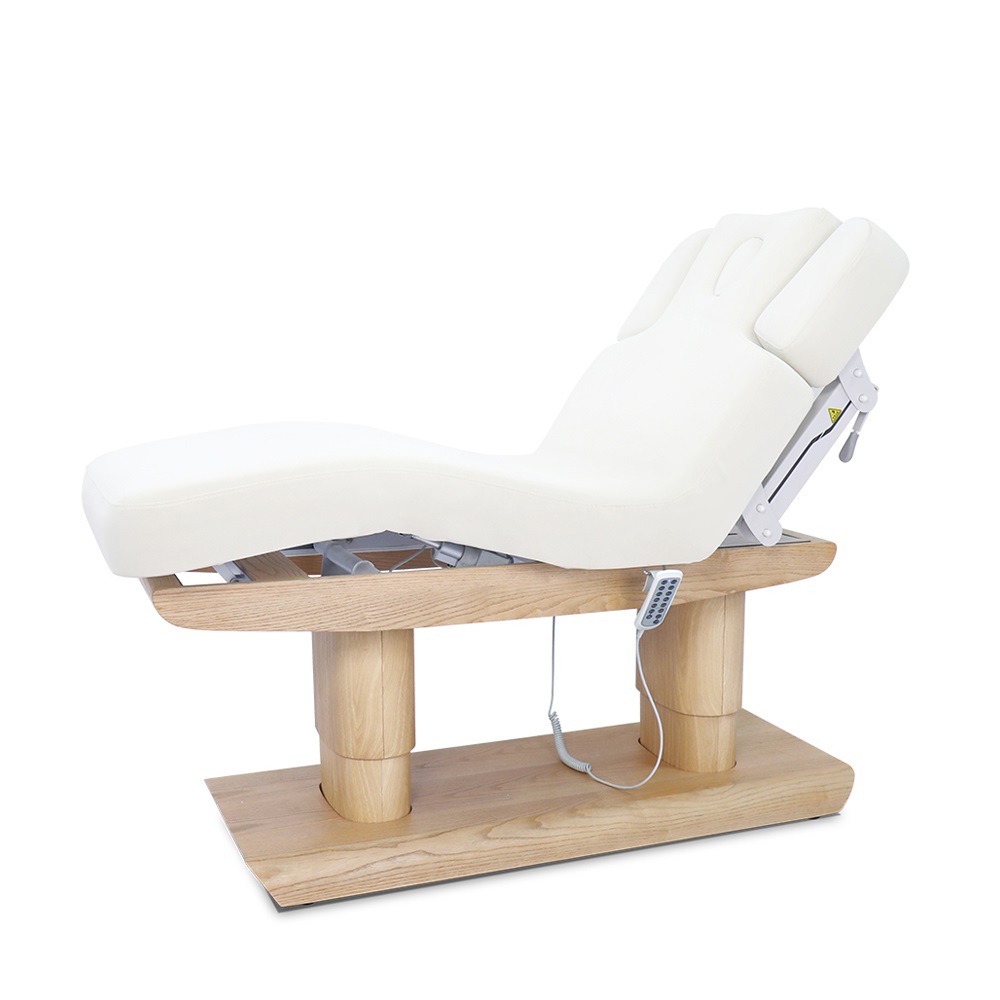
Physical therapy tables play a vital role in the realm of rehabilitation and treatment, serving as an essential piece of equipment. Designed to offer a stable and comfortable surface, it facilitates exercises, manual therapy, and a wide range of treatments for patients. With its versatile functionality, physical therapy tables become a fundamental asset in various healthcare settings, including hospitals, clinics, and private practices. By providing a secure and supportive platform, this specialized equipment enables therapists to administer effective interventions, enhance patient comfort, and optimize treatment outcomes. In this blog, we will explore the process of constructing one, empowering individuals to create their own customized solutions.
When it comes to physical therapy, creating your own physical therapy table for home use brings forth a multitude of benefits. The ability to tailor the table to meet the specific needs of patients is one of the primary advantages. By customizing the dimensions, features, and adjustability options, you can ensure optimal comfort and support during therapy sessions. Moreover, opting for a DIY approach proves to be a cost-effective alternative to purchasing a commercial table, saving you valuable resources. Beyond the financial aspect, the process of constructing physical therapy tables grant a sense of fulfillment and pride as you bring to life a functional piece of equipment that serves the well-being of others. In this comprehensive guide, we will walk you through the step-by-step process of creating your very own physical therapy table for home use, allowing you to reap these benefits and more.
Are you ready to embark on a fulfilling DIY project that will enhance your therapy practice? Look no further than this comprehensive blog, which will serve as your ultimate guide to designing, constructing, and finishing your very own physical therapy table for home use. With a step-by-step approach and a keen emphasis on safety, this blog will empower you to create a table that aligns perfectly with your unique requirements and budgetary constraints. Whether you're a seasoned DIY enthusiast or a beginner with a passion for crafting, the outlined process will equip you with the knowledge and confidence to bring your vision to life. So, let's dive in and explore the rewarding journey of building personalized physical therapy tables that meet your exact needs.

To begin your journey of building physical therapy tables, it is essential to gather all the necessary materials and tools.
Before diving into the construction process, make sure you have the following materials and tools on hand:
Wood for the frame: Select sturdy and durable wood, such as pine or hardwood, that can withstand the weight and stress of therapy sessions.
Plywood or Medium-Density Fiberboard (MDF) for the tabletop: Opt for a smooth and stable material that can provide a comfortable surface for patients.
Foam padding: Choose high-density foam with suitable thickness to offer optimal support and cushioning.
Upholstery material: Select a durable and easy-to-clean fabric that is comfortable for patients.
Screws and hardware components: Ensure you have an assortment of screws, bolts, and other hardware components necessary for assembly.
Saw: A circular saw or a miter saw can help you cut wood to the desired lengths and shapes.
Drill: A power drill with drill bits will be useful for creating holes for screws and other hardware.
Screwdriver: Both manual and electric screwdrivers are essential for driving screws into place.
Measuring tape: Accurate measurements are crucial throughout the construction process, so a measuring tape is a must-have tool.
Sandpaper: Use sandpaper or a sanding block to smooth rough edges and surfaces for patient safety.
Staple gun: A staple gun will be necessary for securing the upholstery material to the foam padding.
When it comes to sourcing materials, you have several options to consider. Here are some suggestions:
Local hardware stores: Visit nearby hardware stores, as they often carry a wide range of wood, plywood, foam padding, and upholstery materials. You can personally inspect the quality and select materials that best fit your requirements.
Home improvement centers: Larger home improvement centers or specialized woodworking stores may have a broader selection of materials suitable for constructing physical therapy tables. They may also offer additional services or advice related to your project.
Online suppliers: Online retailers provide the convenience of shopping from home and often offer competitive prices. Take time to research reputable suppliers, read customer reviews, and compare prices to ensure you receive quality materials.
When engaging in any DIY project, prioritizing safety is paramount. Here are some crucial safety precautions to consider:
Protective gear: Always wear appropriate safety gear, such as goggles, gloves, and a dust mask, to protect your eyes, hands, and respiratory system from potential hazards.
Power tool safety: Familiarize yourself with the manufacturer's instructions for operating power tools safely. Ensure that tools are in good working condition and use them responsibly.
Sharp objects: Exercise caution when handling sharp objects such as saws, drill bits, and screws. Keep blades covered when not in use and handle them with care to avoid accidental injuries.
Ventilation: Ensure proper ventilation in your workspace, especially if working with chemicals, paints, or stains. Open windows or use fans to improve air circulation and minimize exposure to potentially harmful fumes.
Lifting heavy objects: When handling heavy materials or equipment, practice proper lifting techniques to prevent strain or injury. Ask for assistance if necessary.
By taking these safety precautions, you can minimize risks and ensure a safe working environment throughout the construction process.

When designing your physical therapy tables, it is crucial to consider the dimensions that will ensure optimal comfort and functionality for both therapists and patients. Here are some key considerations:
The length and width of your table should be based on the average patient size and the types of therapies you plan to offer. Consider the following factors:
Accommodating Different Body Sizes: Ensure that the table is long and wide enough to comfortably accommodate patients of various heights and body sizes. This will allow them to stretch out and move freely during therapy sessions.
Treatment Modalities: Take into account the specific therapies you plan to provide on the table. For example, if you will be performing exercises that require ample space, such as stretching or range of motion exercises, a longer and wider table may be necessary.
The height of the table is crucial to maintain proper ergonomics for therapists. Consider the following:
Therapist Comfort: The table height should allow therapists to work without straining their backs or compromising their posture. It is recommended to choose a height that allows therapists to maintain a neutral position while administering treatments.
Patient Accessibility: Ensure that the table height allows patients to easily get on and off the table without excessive strain. Consider the average patient's mobility and any specific patient populations you may be treating.
To cater to the diverse needs of patients, it is beneficial to incorporate adjustable features into your design. This will allow you to accommodate patients with specific conditions or mobility limitations. Consider the following:
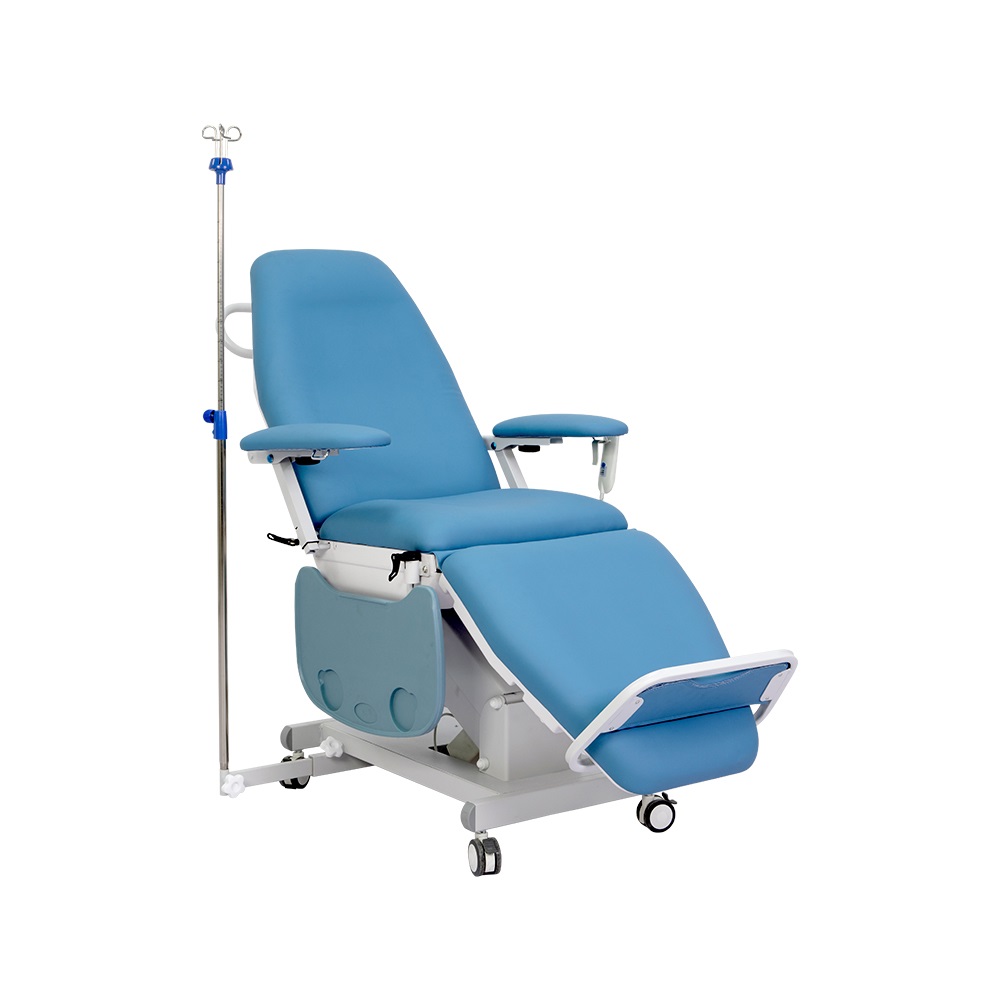
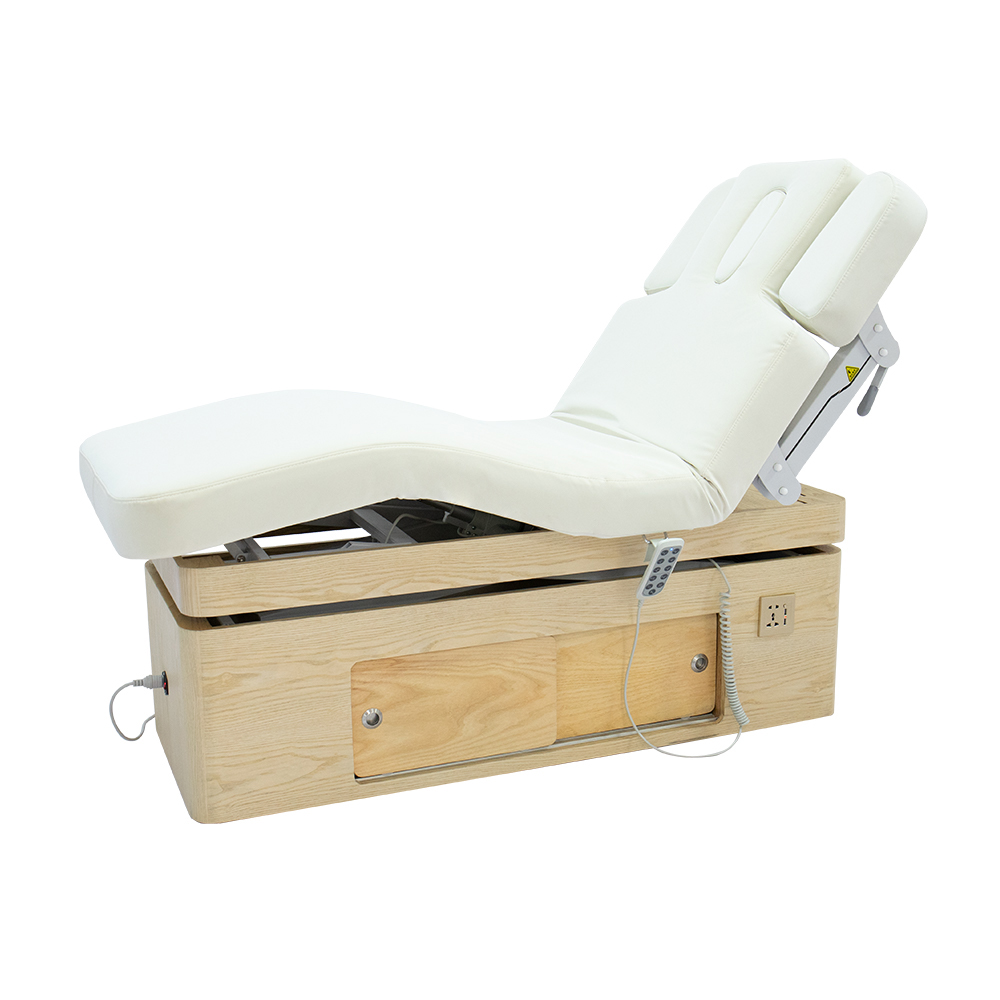
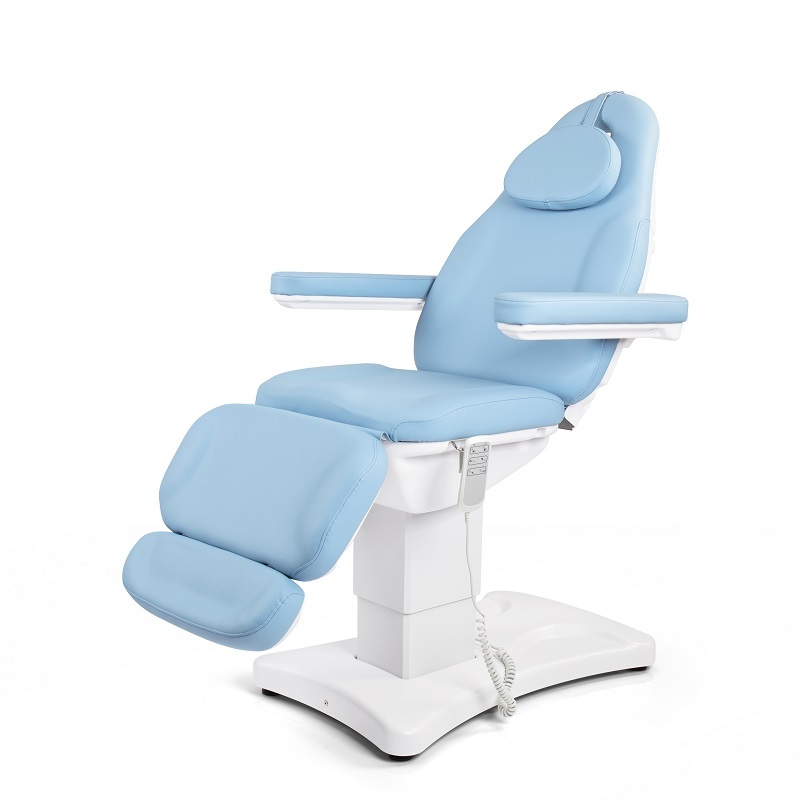
Adjustable Height: Including mechanisms that allow for height adjustment can accommodate patients of different sizes and enable therapists to work comfortably at various heights. Hydraulic systems or manual mechanisms are popular options for adjustable physical therapy table.
Adjustable Angles: Some therapies may require specific angles or inclinations. Incorporating adjustable features that allow for tilting or angling the table can enhance the effectiveness of certain treatments.
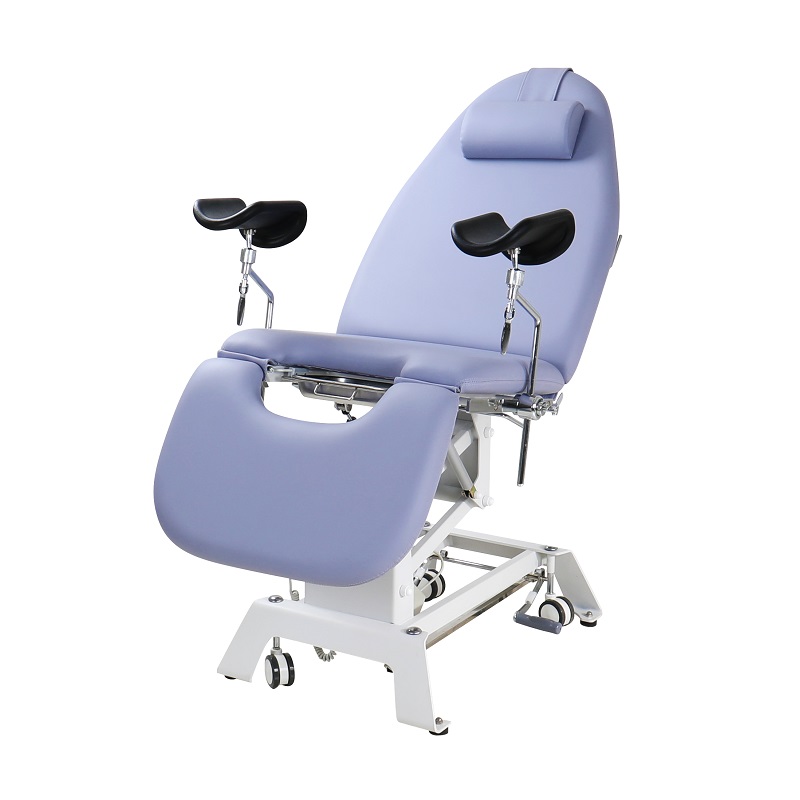
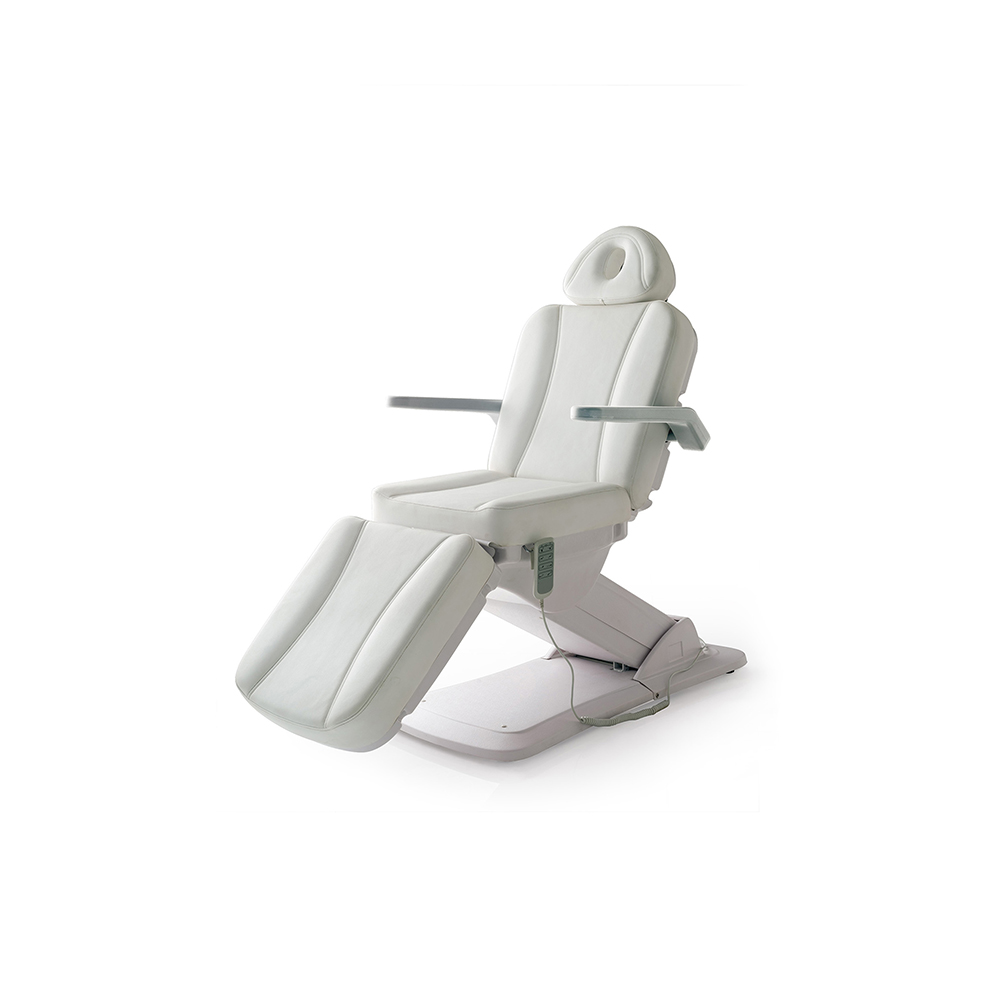
Accessibility Features: If you anticipate treating patients with mobility challenges, consider adding features such as a removable or adjustable headrest, armrests, or side rails to provide additional support and accessibility.
By considering the dimensions and needs of different patients, you can create a physical therapy table that promotes comfort, accessibility, and optimal functionality for both therapists and patients.

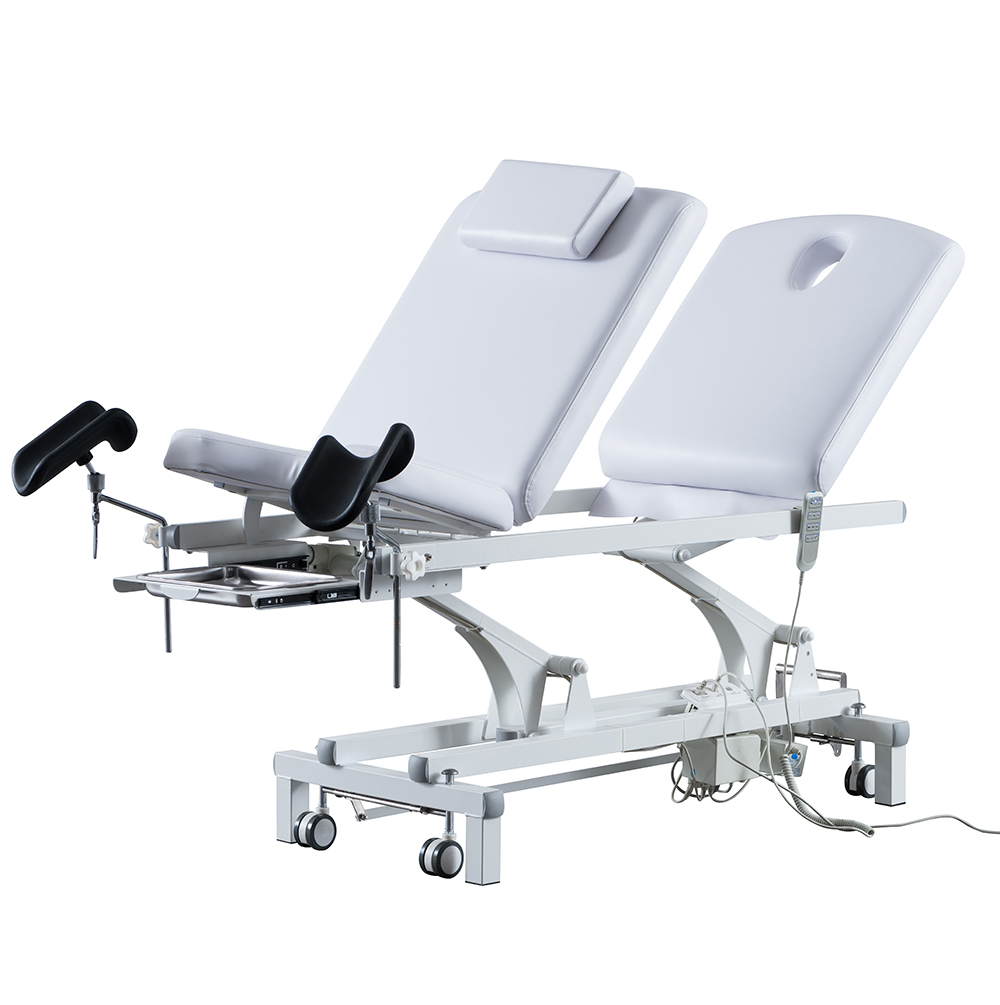
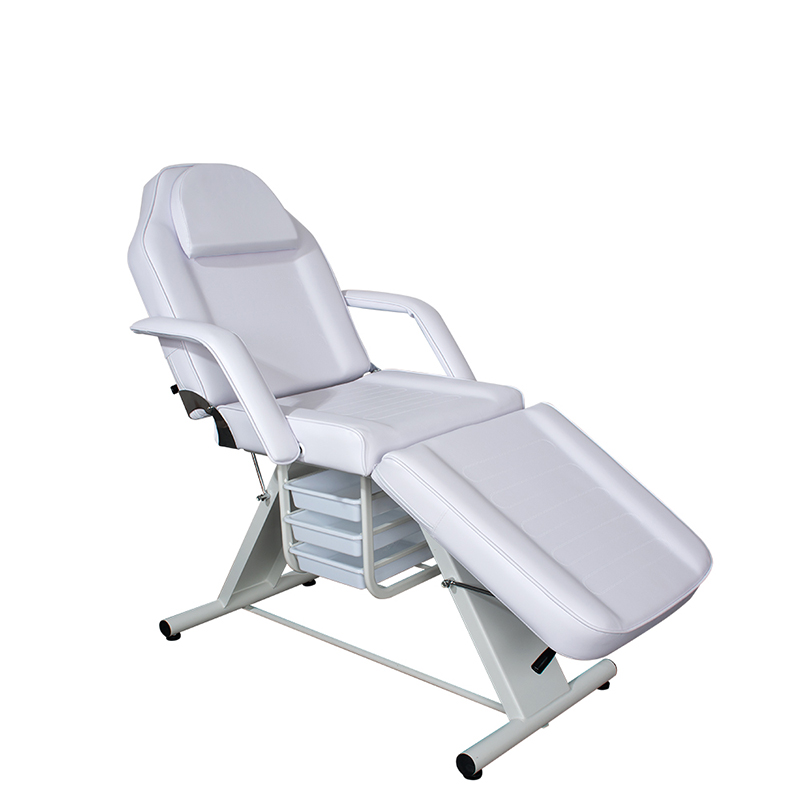
When designing your physical therapy tables, the choice of table structure and features greatly influences its versatility and usability. Consider the following options:
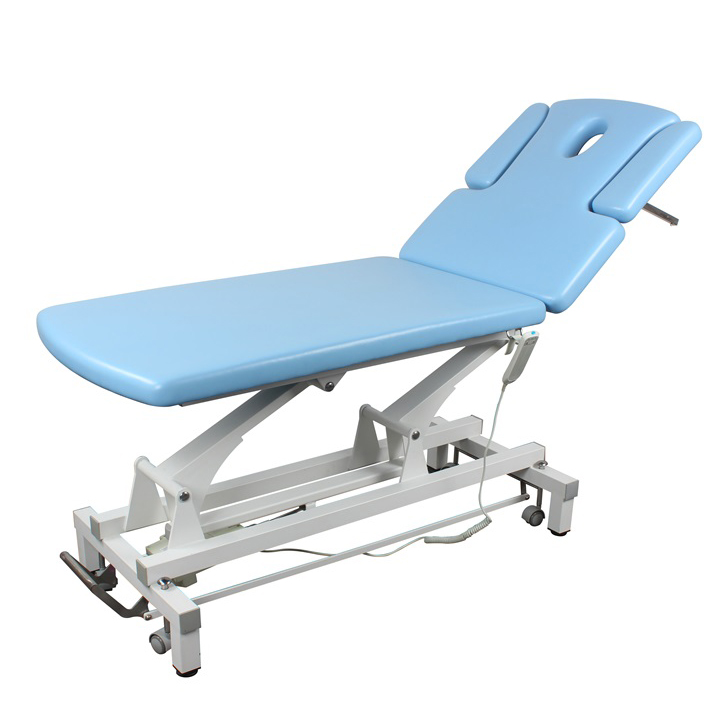
Fixed Table: A fixed table has a solid structure and does not offer adjustable features. It is a suitable option if you primarily provide specific therapies or if you have limited space or budget constraints.
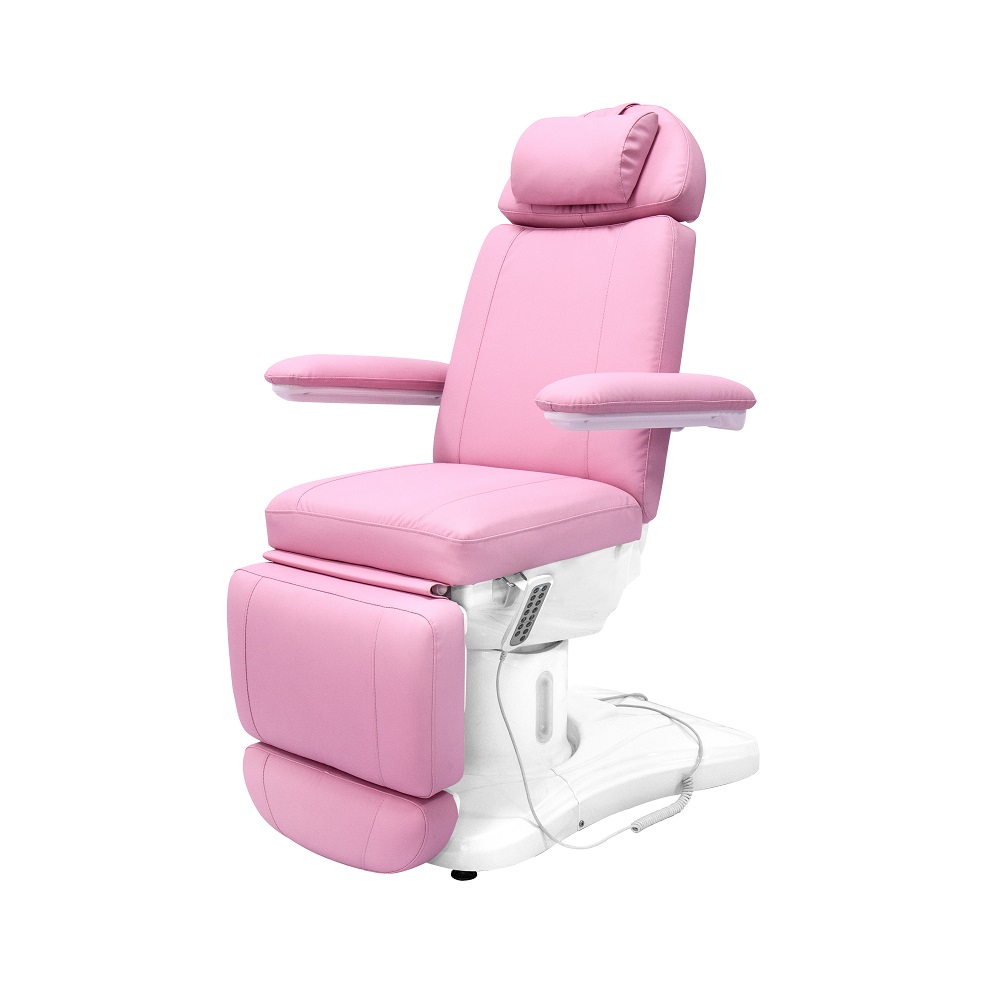
Adjustable Physical Therapy Table: An adjustable table allows you to modify its height, angles, or inclinations to accommodate various treatment modalities and patient positions. This flexibility is beneficial for therapists who require adaptability during their sessions.
Folding Physical Therapy Table: If storage or transportation is a concern, a folding table can be a practical choice. These tables typically have hinges or collapsible mechanisms that allow them to be easily folded and stored when not in use. They are popular in settings where space is limited or therapy services are provided in multiple locations.
Cushioning: Adding cushioning to the tabletop enhances patient comfort during therapy sessions. Consider using high-density foam padding covered with a durable and easy-to-clean upholstery material.
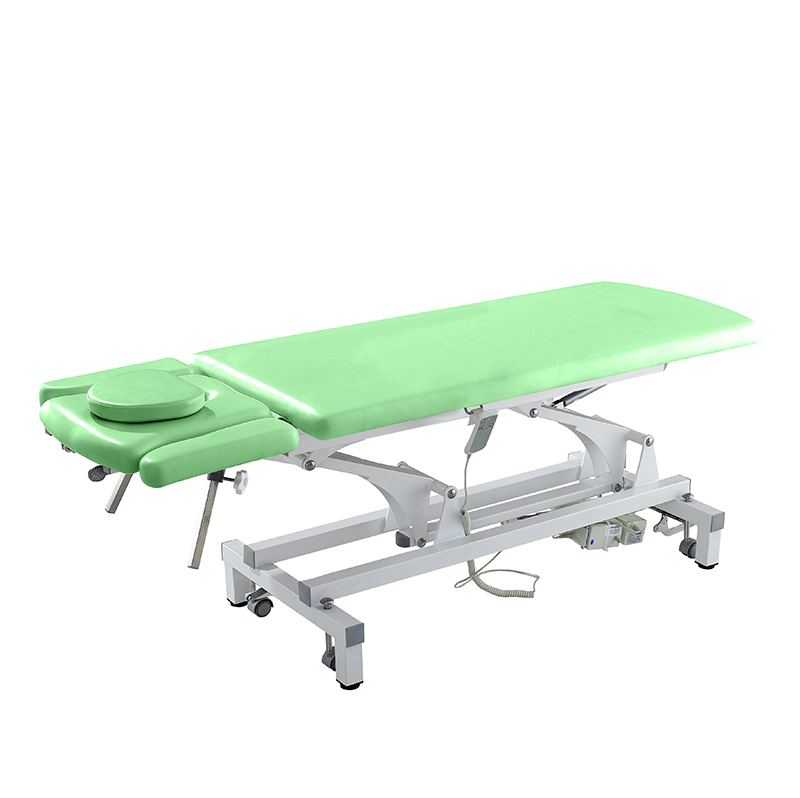
Headrest: Incorporating a removable or adjustable headrest provides additional support and comfort for patients, especially during treatments that require a supine or prone position. This feature can be particularly useful in therapies targeting the neck, upper back, or facial areas.
Armrests: Including adjustable or removable armrests provides support and relaxation for patients during specific treatments or exercises. Armrests can also be helpful for maintaining proper positioning and alignment during therapy sessions.
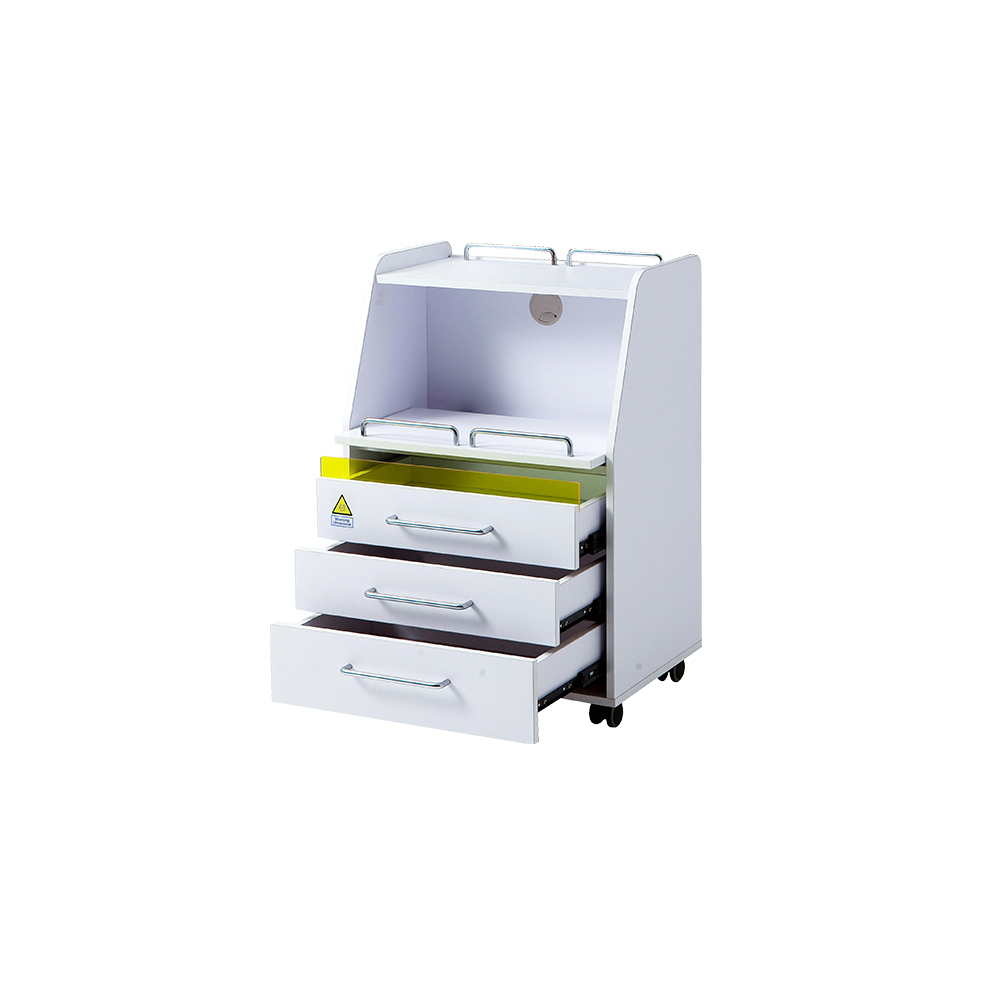
Additional Accessories: Depending on the specific therapies you plan to offer, you might consider adding accessories such as straps, bolsters, or attachable extensions to enhance patient positioning and support.
By exploring different table structure designs and selecting appropriate features, you can create a physical therapy table that meets the unique needs of your practice.

The frame serves as the foundation of your physical therapy tables, providing stability and support. Follow these steps to construct a sturdy frame for your table:
Begin by measuring and marking the dimensions of the frame components on the selected wood. Use a measuring tape and pencil to ensure accuracy.
Carefully cut the wood pieces according to your design specifications using a saw. Double-check the measurements before cutting to avoid any errors.
Lay out the cut pieces of the frame on a flat surface, ensuring they are aligned correctly.
Depending on your chosen method, you can use screws or joinery techniques to assemble the frame. If using screws, pre-drill pilot holes to prevent the wood from splitting. Align the pieces and secure them using appropriate screws and a screwdriver or power drill.
If opting for joinery techniques, such as mortise and tenon or dowel joints, carefully create the necessary joinery cuts and fit the pieces together. Apply woodworking glue to strengthen the joints before assembly.
Evaluate the frame's stability and weight-bearing capacity. Consider adding additional reinforcements to ensure its durability and ability to support the weight of patients.
Diagonal bracing: Adding diagonal braces in the corners of the frame can significantly enhance stability. Cut the bracing components to the appropriate length and angle, then attach them securely to the frame using screws or appropriate joinery techniques.
Support beams: Depending on the size and design of your table, you may need to add support beams in strategic locations to distribute weight evenly. Measure and cut the support beams to fit between the frame components, then secure them firmly in place.
By following these steps, you will successfully build a strong and stable frame for your physical therapy table.
The support structure plays a crucial role in ensuring the stability and weight distribution of your physical therapy table. Follow these steps to incorporate the necessary support beams and crossbars:
Determine the placement of support beams and crossbars based on your design and intended load-bearing areas.
Using a measuring tape, mark the positions for attaching the support beams and crossbars on the frame. Ensure they are evenly spaced and aligned.
Depending on the size and weight capacity requirements of your table, cut the support beams and crossbars to the appropriate length.
Attach the support beams and crossbars to the frame using screws or appropriate joinery techniques. Pre-drill pilot holes to prevent the wood from splitting, and then secure the components firmly in place.
To maintain the structural integrity of the table, it is essential to distribute weight evenly across the tabletop.
Evaluate the areas of the table that may bear significant weight during therapy sessions, such as the center or specific treatment zones.
Consider adding additional support beams or reinforcing these areas to prevent sagging or instability. This can be done by attaching extra support beams or adding additional bracing components as needed.
By incorporating a sturdy support structure and ensuring proper weight distribution, you can create a reliable and stable physical therapy table.

The tabletop is a crucial component of your physical therapy table, providing a stable and comfortable surface for patients during their therapy sessions. Follow these steps to create a durable and well-finished tabletop:
Select a suitable material for the tabletop, such as plywood or medium-density fiberboard (MDF). These materials are strong, durable, and resistant to warping or splitting. Choose a thickness that can support the weight of patients without sagging or flexing.
Measure and mark the dimensions of the tabletop on the chosen material, ensuring it matches the frame's dimensions.
Use a saw to cut the tabletop to the desired shape and size. Take care to cut accurately along the marked lines.
After cutting, use sandpaper to smooth the edges and surfaces of the tabletop. This will help prevent splinters and ensure patient comfort and safety. Start with coarse-grit sandpaper to remove any roughness, and finish with finer-grit sandpaper for a smooth finish.
Position the tabletop onto the assembled frame, ensuring it aligns properly.
Depending on your chosen design, you can secure the tabletop to the frame using screws or appropriate fasteners. Pre-drill pilot holes on the underside of the tabletop to prevent splitting, and then attach it securely to the frame.
Place screws at regular intervals along the edges and center of the tabletop to ensure even support and stability. Test the table for any wobbling or instability and make adjustments as necessary.
Once the tabletop is securely attached to the frame, you have successfully completed a significant part of constructing your physical therapy table.

If you have decided to include adjustable features in your physical therapy table, such as height or angle adjustments, follow these steps to install the mechanisms:
Research and explore different options for adjustable mechanisms, such as hydraulic systems or manual mechanisms. Consider factors such as ease of use, stability, and maintenance requirements when selecting the mechanism that best suits your needs.
Follow the manufacturer's instructions and guidelines for mounting the adjustable mechanisms to the frame of the table.
Ensure that the mechanisms are securely attached and positioned in the appropriate locations for the desired adjustments.
Pay attention to proper alignment and positioning to allow for smooth and controlled height or angle adjustments.
Once the adjustable mechanisms are installed, carefully test their functionality and make any necessary adjustments.
Ensure that the mechanisms operate smoothly and provide the desired range of adjustments without any binding or sticking.
Test the stability and strength of the adjustable features to ensure they can support the weight of patients during therapy sessions.
By installing adjustable mechanisms, you can enhance the versatility and adaptability of your physical therapy table, accommodating different treatment modalities and patient needs.
To enhance patient comfort and aesthetics, it's important to add cushioning and upholstery to your physical therapy table. Follow these steps for a professional and comfortable finish:
Select foam padding that provides adequate support and comfort for patients during therapy sessions.
Consider the thickness and density of the foam based on the expected usage and patient needs. Thicker foam with higher density generally offers better support but may be less forgiving.
Measure the dimensions of the tabletop and transfer those measurements to the foam padding.
Use a sharp utility knife or an electric foam cutter to cut the foam along the marked lines. Take care to make clean and precise cuts.
Choose an upholstery material that is durable, easy to clean, and complements the design of your physical therapy table.
Lay the upholstery material flat on the working surface and place the cut foam padding on top.
Carefully wrap the upholstery material around the foam, ensuring a tight and smooth fit. Smooth out any wrinkles or creases in the material.
Secure the upholstery material to the underside of the tabletop using a staple gun. Start by stapling the center of each side, and then work your way outwards, pulling the material taut as you go. Ensure the staples are evenly spaced and securely fastened.
By adding cushioning and upholstery, you create a comfortable and inviting surface for patients during their therapy sessions.

To ensure the safety and aesthetics of your homemade physical therapy table, follow these steps for smoothing and finishing:
Use sandpaper or a sanding block to carefully sand the entire table, including the frame and tabletop.
Pay close attention to any rough edges, corners, or surfaces that may pose a risk to patient safety or comfort.
Sanding helps eliminate sharp edges, splinters, or any rough spots, ensuring a smooth and safe surface.
Consider applying a protective finish to the wood surfaces of your table. This not only enhances the table's durability but also makes it easier to clean and maintain.
Choose a suitable finish such as varnish, polyurethane, or paint, depending on your preference and the desired look.
Before applying the finish, make sure the table is clean and free of dust. Follow the manufacturer's instructions for application, including the appropriate tools and drying time.
Apply the finish evenly, following the wood grain, and allow it to dry completely before using the table.
By smoothing the table's surfaces and applying a protective finish, you create a polished and safe environment for patients during their therapy sessions.
Ensuring the safety of patients is of utmost importance when using a physical therapy table. Follow these safety measures to create a secure and protected environment:
Before using the table, carefully assess its stability and weight-bearing capacity. Test it by applying varying weights or simulating different patient positions.
Ensure that the table remains stable and does not wobble or tip under the weight of patients.
Regularly inspect the table for any signs of wear, damage, or loosening of screws or joints. Address any issues promptly to maintain stability and safety.
Incorporate non-slip materials or features to the table's surface or legs to prevent accidents during therapy sessions.
Consider using non-slip mats or rubber pads on the tabletop or legs to provide additional grip and stability.
This helps to minimize the risk of patients slipping or the table shifting during movements or exercises.
Depending on the types of treatments you plan to perform, consider adding safety accessories to your table.
Straps or harnesses can be used to secure patients during therapy sessions, particularly when performing exercises or positions that require additional support.
Ensure the straps or harnesses are adjustable, comfortable, and properly attached to the table to provide optimal safety and security for patients.
By checking stability, adding non-slip features, and incorporating additional safety accessories, you create a safer treatment environment for patients using your homemade physical therapy table. These measures reduce the risk of accidents, falls, or injuries during therapy sessions.
In conclusion, building a physical therapy table offers numerous benefits and opportunities for customization. By following the step-by-step process outlined in this blog, you can create a table that not only meets the specific needs of your patients but also reflects your individual preferences and style. So, roll up your sleeves, gather your materials and tools, and embark on the rewarding journey of creating your very own physical therapy table.